Shedding light on the most innovative illumination methods, this piece revolves around uncovering the secrets behind the best lighting setups. From cozy ambiance for a home movie night, strategic arrangement to capture the perfect selfie, to professional setups for photography and film production, your journey through the spectrum of light begins here. Learn how to manipulate brightness, color, direction and diffusion to create the optimal environment for whatever your needs may be. So, fasten your seatbelts, you’re in for a radiantly enlightening ride.

Understanding Light Quality
Photography, at its core, is all about capturing light. It’s crucial to understand the basic characteristics of light to enhance your photography skills.
Hard vs Soft Light
Light can be categorized into two main types: hard and soft. Hard light is sharp and direct, creating strong, clear shadows. It can add drama and contrast to your images. On the other hand, soft light is gentle and diffused, reducing harsh shadows. This type of light is often used in portrait photography as it’s flattering to the skin.
Color Temperature
Color temperature refers to the “warmth” or “coolness” of the light. It’s measured in Kelvin(K). Lower color temperatures (below 3500K) are called “warm” colors and have an orange-red hue. Higher temperatures (above 5000K) are “cool” colors and have a blue-ish hue.
Light Intensity
Light intensity, also known as brightness or light level, impacts the exposure of your shot. An overly intense light may overexpose your photos while too little light may cause them to be underexposed. It’s crucial to find the right balance to achieve a perfect exposure.
How to Modify Light Quality
You can modify the quality of light using various tools and techniques. Softboxes can diffuse hard light, color gels can tweak the color temperature, and dimmers can regulate the light intensity. Light modifiers help you shape the light in the desired manner to suit the aesthetics of your photos.
Natural Light Setup
Natural light photography utilizes the light that is readily available in the environment, like sunlight or moonlight.
Advantages of Natural Light
Natural light is free, abundant, and versatile. It changes throughout the day and offers a wide range of photographic opportunities. Natural light photography can also feel more authentic and organic compared to artificial light setups.
Camera Settings for Natural Light
When shooting in natural light, it’s crucial to adjust your camera settings accordingly. The aperture, shutter speed, and ISO need to be balanced to get a well-exposed shot. Using the right white balance is also important to accurately represent the color temperature of the natural light.
Choosing the Right Time and Location
The quality of natural light can dramatically change depending on the time and location. Golden hour (the first hour after sunrise and the last hour before sunset) often provides the most flattering light. Cloudy weather can act as a natural diffuser, providing soft and even light.
How to Enhance Natural Light
You can enhance natural light using reflectors to bounce light onto your subject or using diffusers to soften harsh light. Positioning your subject properly to avoid harsh shadows and highlights is also critical.
Artificial Light Setup
Artificial light allows you to control every aspect of light quality, from intensity to color temperature.
Types of Artificial Lights
There are many types of artificial lights such as incandescent bulbs, fluorescent lights, LEDs, halogen lamps, and studio strobes. Each of these lights has its characteristics and uses and can highly impact the look of your photographs.
Camera Settings for Artificial Light
Artificial light tends to be more consistent than natural light, but your camera settings still need to reflect the light characteristics. Checking your white balance, exposure settings, and adjusting your ISO as per the light intensity is crucial.
Using Reflectors with Artificial Light
Reflectors can effectively redirect light where you want it. They help to fill in shadows, creating a balanced lighting setup.
How to Modify Artificial Light
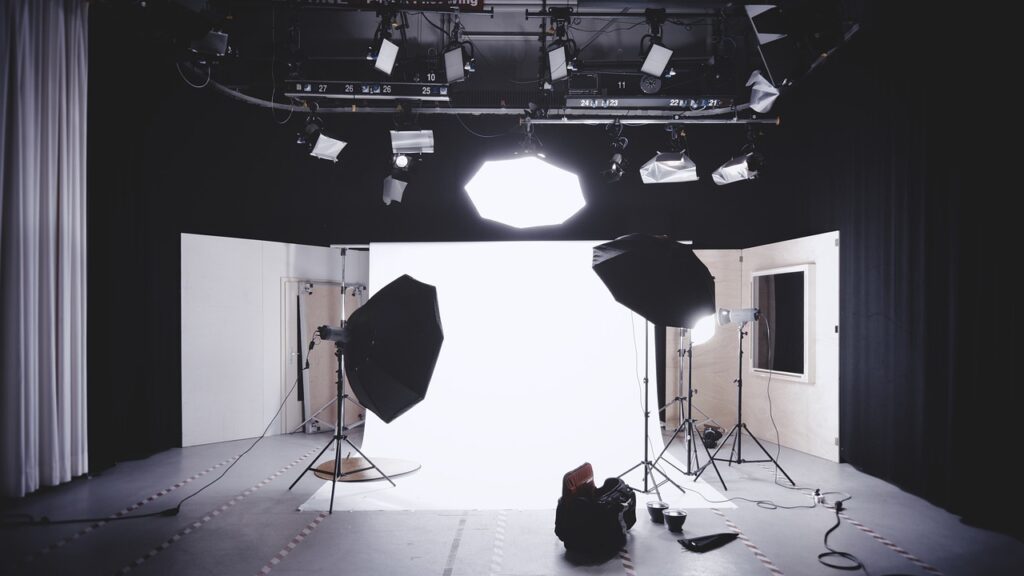
Modifiers, like softboxes, beauty dishes, and umbrellas, can soften the light, reduce glare, and direct the light to specific parts of your subject.
One Light Setup
A one light setup is where you use a single light source to light your subject.
Benefits of One Light Setup
One-light setups are simple, cost-effective, and have minimal setup time. They offer an excellent starting point for learning light manipulation.
Using Key Light Effectively
The key light is your primary light source. It’s crucial to place the key light strategically to highlight the key features of your subject and create depth in your shot.
Creating Dramatic Effects
By adjusting the placement and intensity of your key light, you can create dramatic light and shadow effects. For example, side-lighting can emphasize textures and shapes while backlighting can create a silhouette effect.
Adjusting Light Size and Position
The size and position of your light source will affect the hardness or softness of the light. Larger, closer light sources will produce softer light, while smaller, distant light sources will create harder light.

Two Light Setup
A two-light setup involves using two lights: a key light and a fill light.
Purpose of Two Light Setup
Two light setup further helps to craft the mood and drama in your images. It provides better control over the intensity and direction of the light.
Balancing Key Light and Fill Light
Balancing between your key light (main light source) and fill light (used to eliminate harsh shadows) is critical. Too much fill light can flatten your image, while too little can leave harsh shadows.
Using Rim Light for Depth
Adding a second light source can also provide the opportunity for additional effects such as a rim light, a light positioned behind the subject to create a “rim” of light, which adds depth and separates your subject from the background.
Choosing the Right Gels
Colored gels can modify the color of your light. This can manipulate the mood of your image, like using warm gels for a cozy effect or cool gels for an eerie look.
Three Light Setup
A three-light setup involves a key light, fill light, and backlight.
Why Use a Three Light Setup
Three light setups allow for even more nuanced control over your lighting, and can add depth and dimension to your images.
Using Backlight for Separation
The addition of a backlight can be used to further separate your subject from the background. It creates a glowing edge around them, providing more depth and three-dimensionality.
Experimenting with Lighting Ratios
You can experiment with different lighting ratios between the key, fill, and backlights to create various visual effects.
Placing Lights for Best Results
The positioning of your three lights will greatly impact the look of your images. It’s crucial to adjust the position of each light based on the desired outcome.

Four Light Setup
A four-light setup generally consists of a key light, fill light, backlight, and a background light.
Utilizing Four Light Setup
A four-light setup gives extreme control over every aspect of your lighting. The additional background light can illuminate the background separately, make it brighter or darker, or add a splash of color.
The Benefit of Additional Lights
Additional lights can add layers of complexity, depth, and dimension to your images, opening up endless creative possibilities.
Lighting Arrangement
Aligning the key, fill, backlight, and background light accurately is crucial. Each light serves its unique purpose, combining to craft a perfectly lit image.
Adding Complexity and Depth
Extra lights can highlight a part of the subject, add sparkle to an object, or project interesting shadows. They’re also useful for creating a greater sense of depth.
Dynamic Lighting
Dynamic or moving lighting setups are more complex but can add an exciting, invigorating element to your photos.
Uses of Dynamic Lighting
dynamic lighting can be used to play with viewer’s perception by leading their eyes to certain parts of the image, creating various moods, or conveying motion.
Setting Up Moving Lights
Setting up moving lights can be complex; the distance, direction, speed, and rhythm of the light needs to be adjusted as per the desired effect.
Effect of Lighting Motion on Subjects
Lighting motion can dramatically influence how your subject looks. It can enhance textures, reveal or hide details, highlight areas, or create interesting shadows.
Safety Measures for Dynamic Lighting
Safety is paramount when working with dynamic lighting. Always secure your moving lights properly and maintain safe distance from your subjects to prevent accidents.
Studio Lighting Setup
Studio lighting offers the most control over your photographic environment.
Advantages of Studio Lighting
A studio environment provides complete control over lighting parameters. You can craft and fine-tune the light quality, direction, intensity, and color as per your creative vision.
Setting up Studio Light Grid System
A well-designed studio light grid system provides flexibility to place, move, and secure lights. It ensures smooth light adjustments and better control over light effects.
Diffusing Studio Lights Effectively
Effective diffusion of studio lights is important. It softens the light and makes it wrap around the subject for a more natural, flattering look.
Safety Tips for Studio Lighting
It’s important to regularly check and maintain your studio lighting equipment to avoid hazards. Use heat-resistant gloves while handling hot lights and always secure your light stands firmly.
Outdoor Lighting Setup
Outdoor lighting setups combine the elements of natural and artificial light, offering unique benefits and challenges.
Challenges in Outdoor Lighting
Outdoor lighting is unpredictable, it changes throughout the day, and can vary depending on the weather, season, and location.
Preparation for Outdoor Shoots
Successful outdoor photography requires careful planning. It’s crucial to observe the light conditions, choose the right time of day, and have backup plans in case of unexpected weather changes.
Using Natural Elements to Enhance Lighting
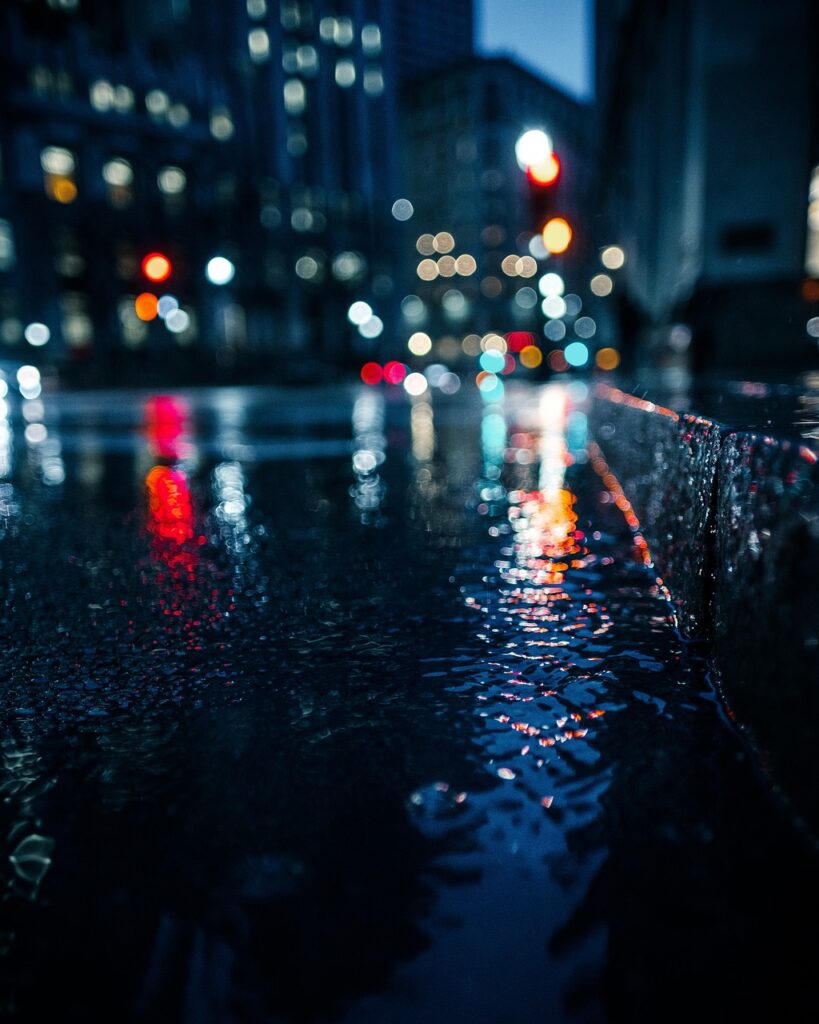
In outdoor photography, you can use natural elements, like water, fog, or shiny surfaces, to enhance your lighting. They can reflect, refract, or diffuse the light for some interesting effects.
Portable Equipment for Outdoor Setup
Having portable, sturdy, and weather-resistant equipment is beneficial for outdoor shoots. Tools like portable light stands, reflectors, and diffusers are crucial for managing outdoor lighting.
In conclusion, understanding and mastering various lighting setups can drastically improve your photography. Each setup offers its own unique advantages and possibilities for creativity. Start with basic setups and gradually incorporate more complex lighting as you grow comfortable. The key is to experiment, learn from each shoot, and continuously evolve.


